Quick Fix: Utilize the built-in compiler and execution support of IntelliJ IDEA instead of invoking Gradle commands directly. This can be achieved by switching the "Build and Run using" option from "Gradle" to "IntelliJ IDEA" in the project settings.
The Problem:
In a new Gradle project created in IntelliJ IDEA 2023.2, a warning message is encountered regarding the use of deprecated Gradle features, making the build incompatible with Gradle 9.0. The warning message is displayed during the build process. The goal is to understand why this warning occurs, how to resolve it correctly, and if the applied solution of changing the "Build and Run" option from "Gradle (Default)" to "IntelliJ IDEA" is the appropriate approach.
The Solutions:
\n
Solution 1: Switch Build and Run Using to IntelliJ IDEA
\n
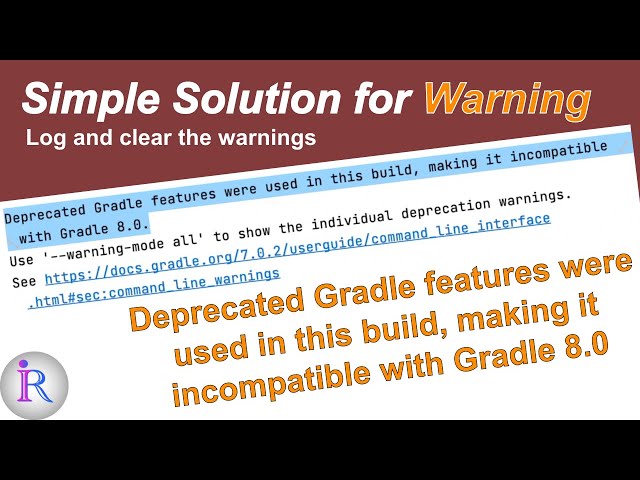
The warning "IntelliJ IDEA – Deprecated Gradle features were used in this build, making it incompatible with Gradle 9.0" is displayed when using IntelliJ IDEA 2023.2 and creating a new project with Gradle. This can be solved by changing the "Build and Run Using" setting to "IntelliJ IDEA" instead of "Gradle (Default)."
\n
When "Build and Run Using" is set to "Gradle," IDEA invokes Gradle commands to build and run the project, which touches deprecated APIs of Gradle and causes the warning. Switching to "IntelliJ IDEA" bypasses Gradle and uses the IDE’s built-in compiler and execution support, eliminating the deprecated warnings.
\n
If the warning persists even when building the project from the command line, consider reporting it as a bug to JetBrains’ issue tracker, providing steps to reproduce and a sample project if possible.
Solution 3: Create a Custom Gradle Task
There’s a different approach to address this issue, which involves defining a custom Gradle task to run your Java application. This method provides more flexibility and control over the task’s execution. It doesn’t completely eliminate the warning, but it offers a neat solution to run the application without the deprecated features:
Write a Custom Gradle Task:
Create a custom JavaExec task in your Gradle build file (build.gradle.kts).
Specify the necessary properties, such as the classpath, main class, and any arguments.
Here’s an example of a JavaExec task in Kotlin DSL:
To run the custom task, use the following command in your terminal:
./gradlew runApp
Benefits of Using a Custom Task:
Flexibility: This approach allows you to customize the task’s behavior, set specific configuration options, and add additional dependencies as needed.
Compatibility: The JavaExec task is supported by Gradle and is less likely to encounter deprecation issues in future versions.
Simplicity: It provides a straightforward way to run your Java application without worrying about deprecated features in the default run configuration.
This method offers a structured and reliable way to run your Java application within Gradle, ensuring compatibility with future Gradle versions while providing flexibility for customization and extensibility.
Q&A
How to resolve the warning
—
Switch ‘Build and run using’ from ‘Gradle (Default)’ to ‘IntelliJ IDEA’.
Which Gradle versions cause this issue?
—
Gradle version 9.0 and above.
How to resolve the issue if Gradle build is performed from JavaExec task?
—
Use ‘JavaExec’ task type for Gradle build..
Video Explanation:
The following video, titled "Related Video", provides additional insights and in-depth exploration related to the topics discussed in this post.
This video provides further insights and detailed explanations related to the content discussed in the article.